

You Are Two Hours Away
From a Foundation That Lasts 50 Years.
Follow these eight steps to install MonuGrid® correctly and completely
— no concrete, no special equipment, and no return visits required.
WATCH FIRST
See a Full Installation in Under 5 Minutes
Before you start, watch this walkthrough of a complete MonuGrid® installation from excavation to finished marker placement.
BEFORE YOU BEGIN
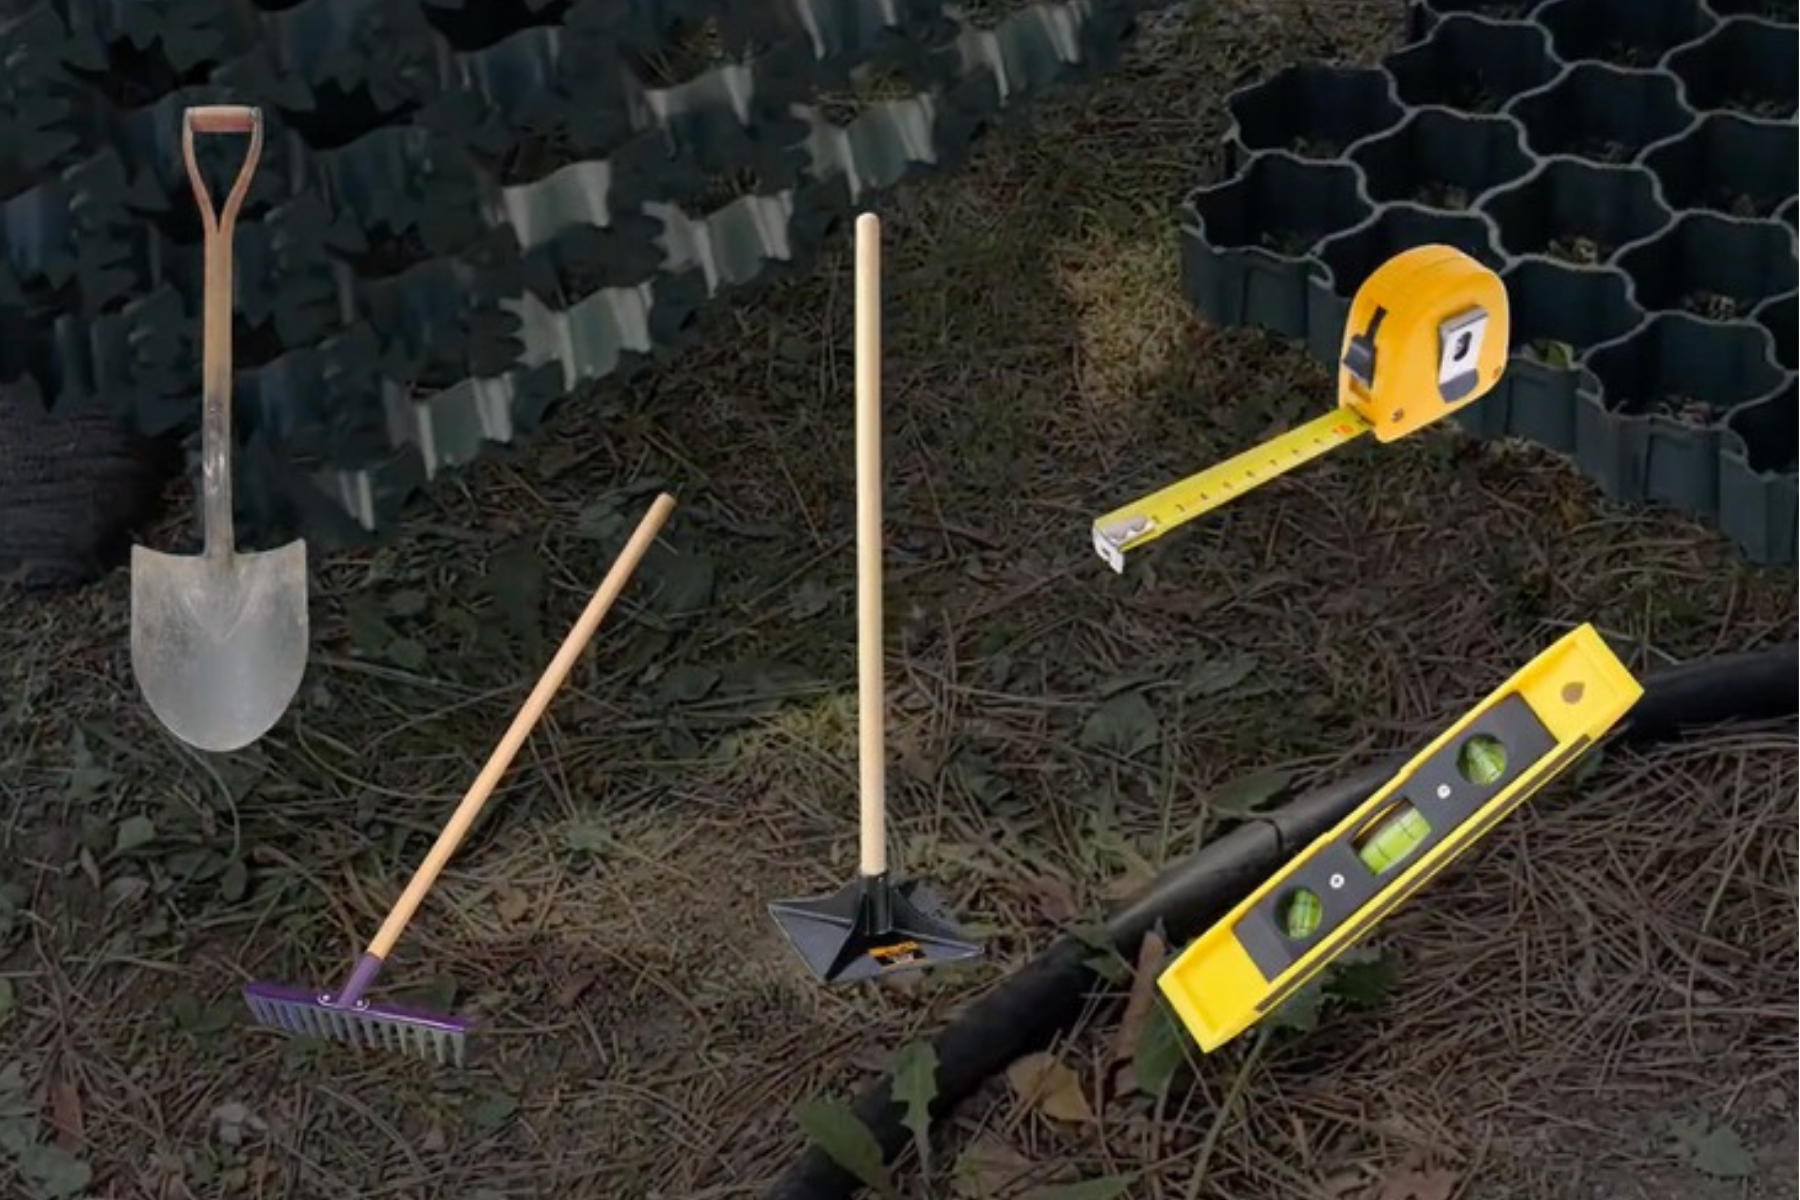
Gather these materials before starting.
Most marker installations require 3 to 4 five-gallon pails of crushed gravel.
What You Will Need
Eight Steps to a Better Foundation
THE INSTALLATION
Follow these steps in order. The entire process takes under an hour for most marker types.
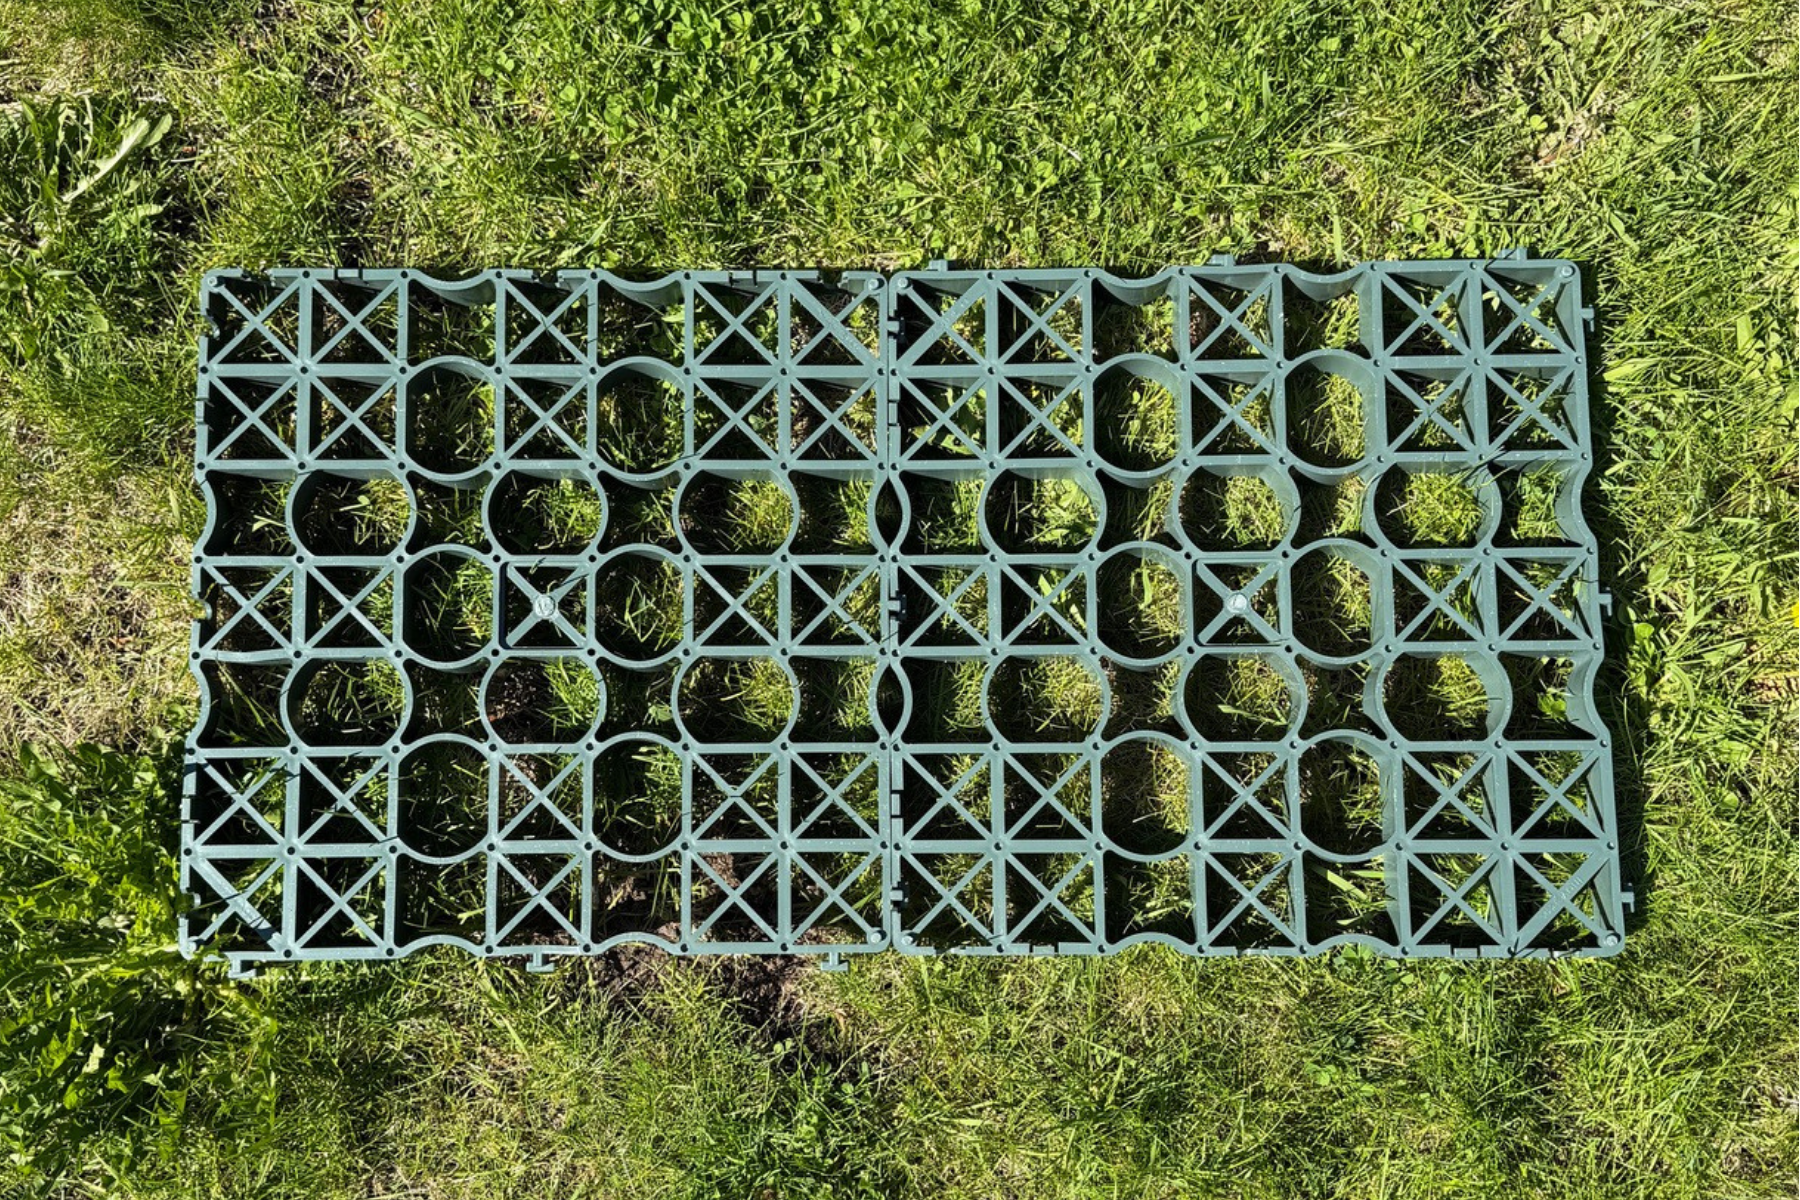
Determine the Number of Tiles
Place the MonuGrid over the marker footprint to determine how many tiles are required. The grid should extend 1 to 2 inches beyond all sides of the marker whenever possible.
Gather Your Materials
Collect all required tools and materials before you begin. Most marker installations require 3 to 4 five-gallon pails of well-graded 3/4" crusher run gravel — an equal mix of sand, stone dust, and angular stone.
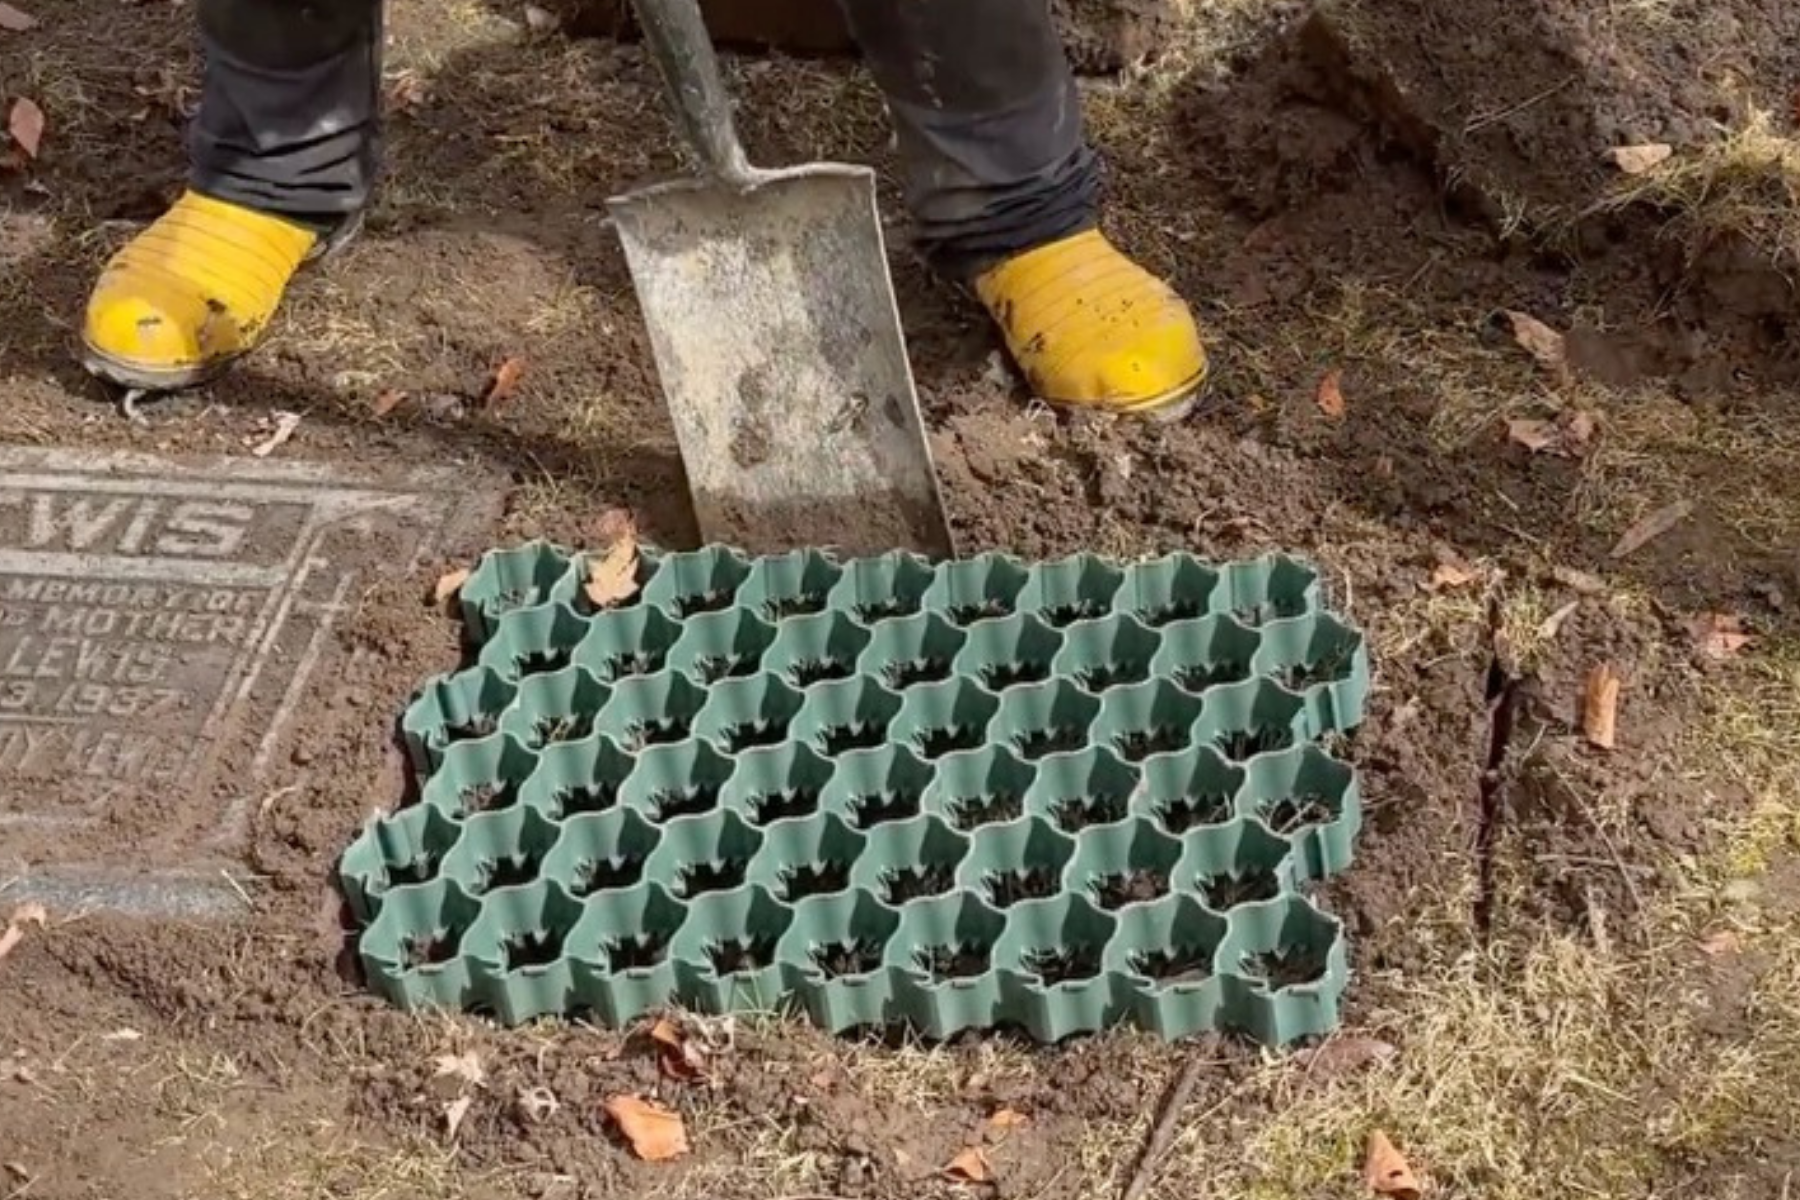
Mark and Excavate the Area
Position the MonuGrid where the marker will be installed and use it as a guide to outline the excavation area. Remove the sod and excavate to the required depth, which equals the combined thickness of:
- Marker
- MonuGrid
- Bedding layer
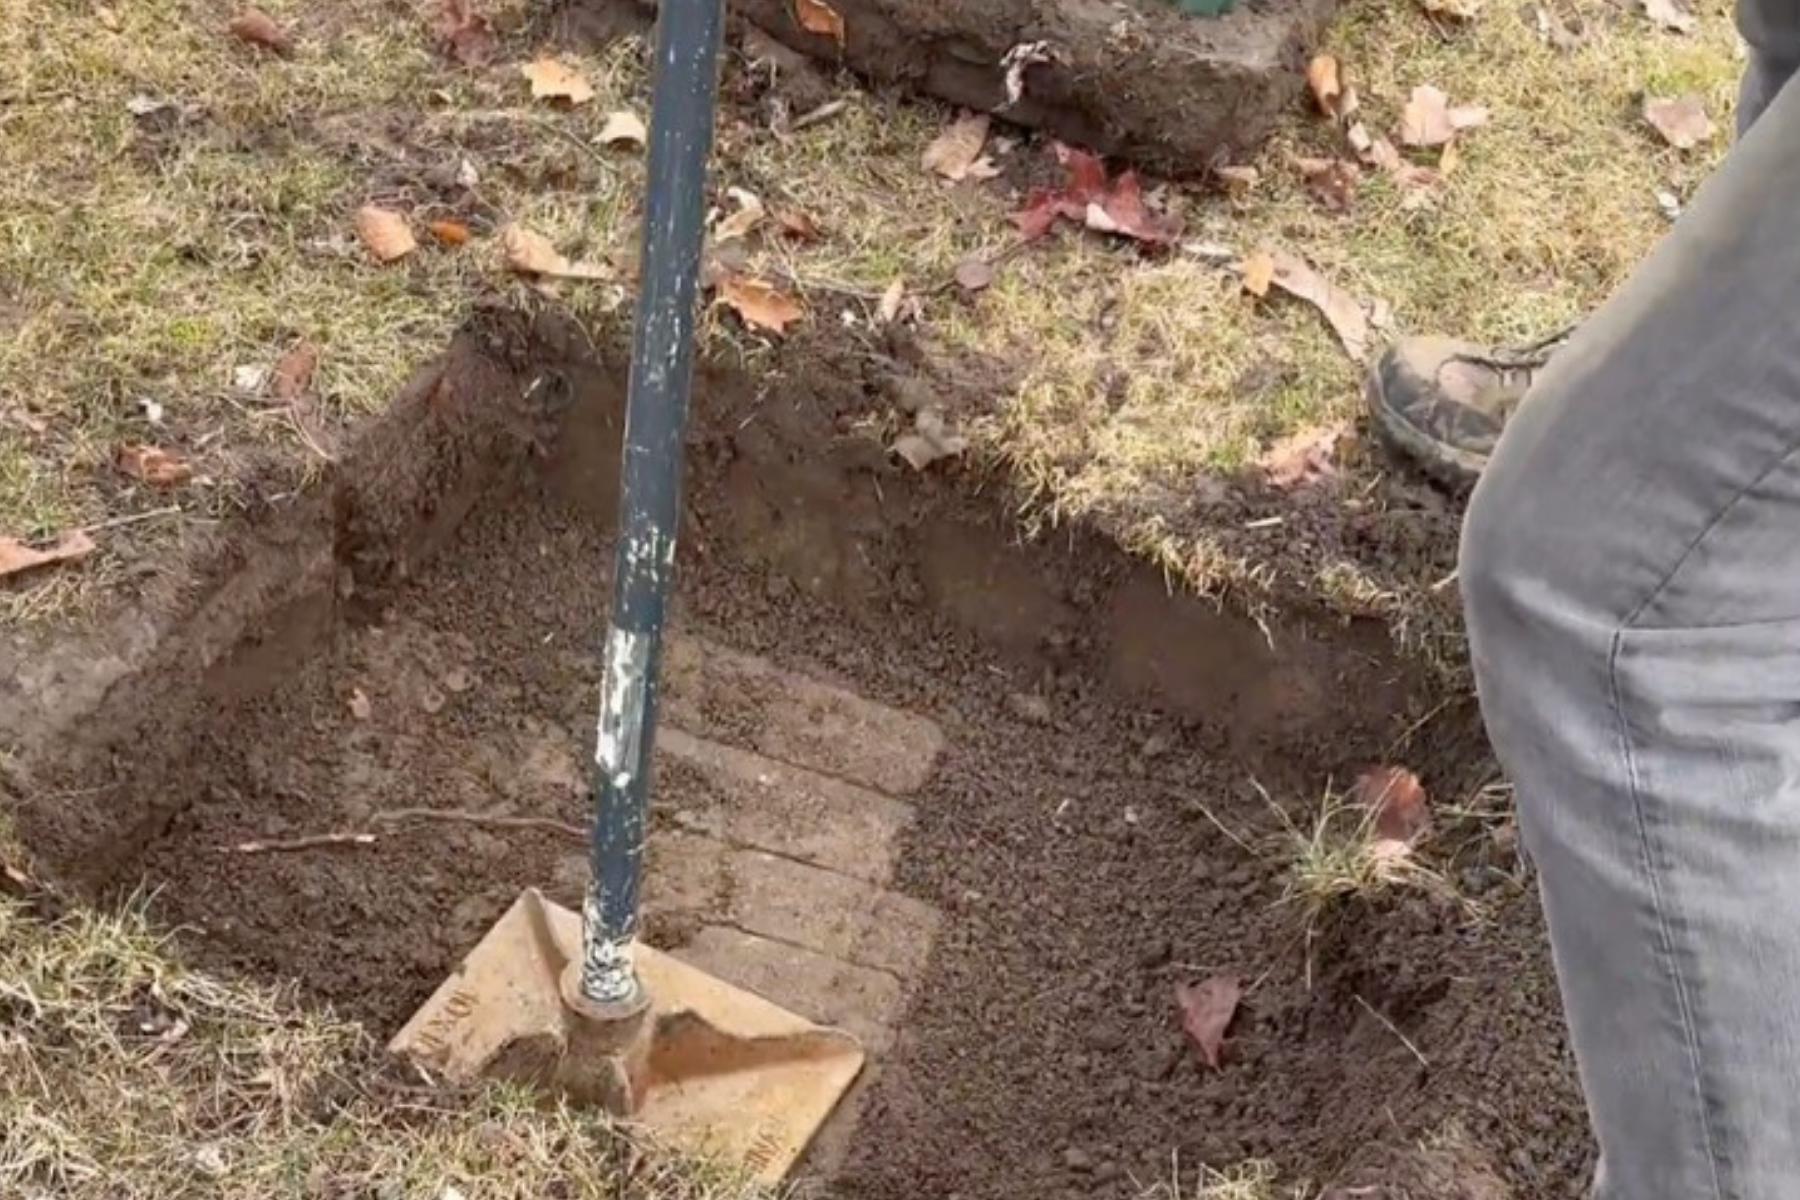
Compact the Subgrade
Remove any loose soil from the excavation and firmly compact the subgrade using a hand tamper until the surface is stable. A solid, compacted base is essential before building up your gravel layer.
Build the Base
Add the crushed gravel gradually, compacting it in layers as you go. Check the height frequently to avoid overfilling and ensure you are building to the correct elevation.
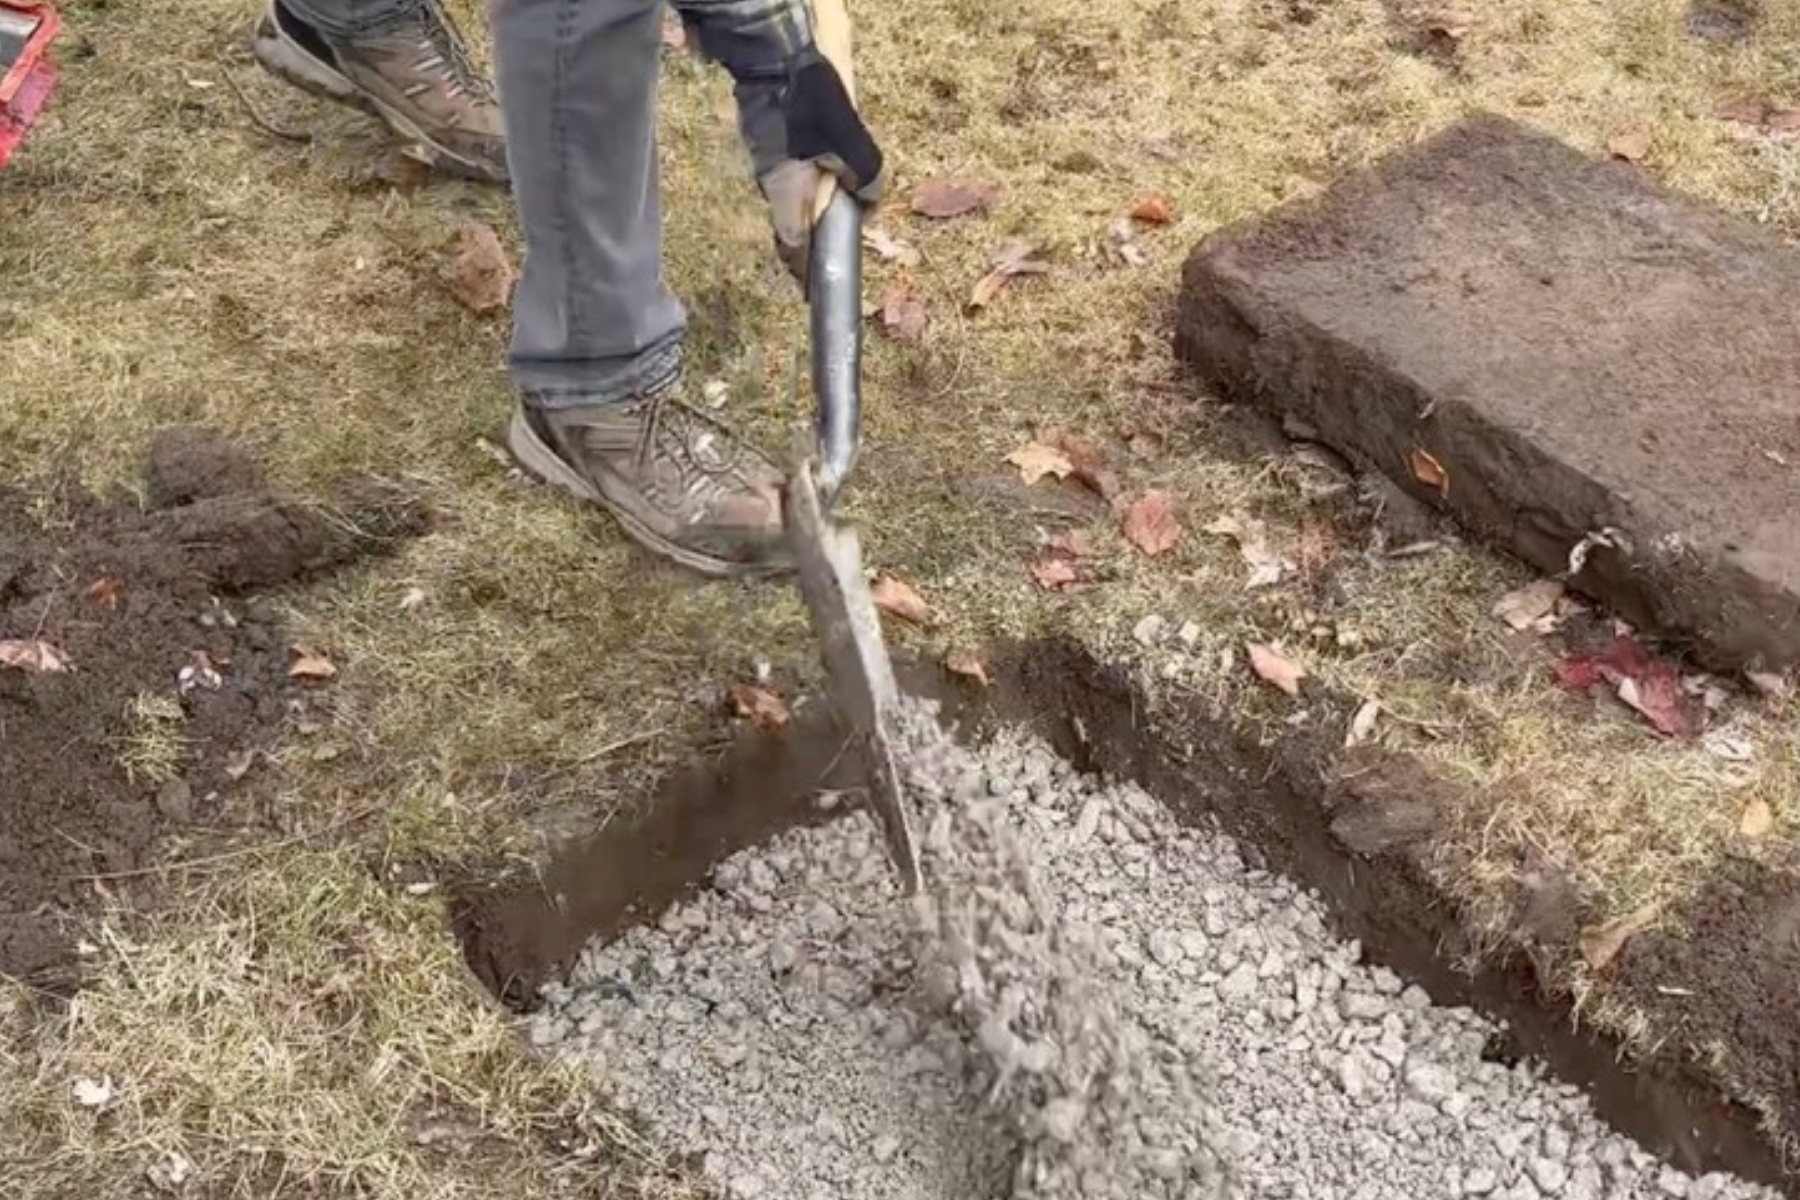
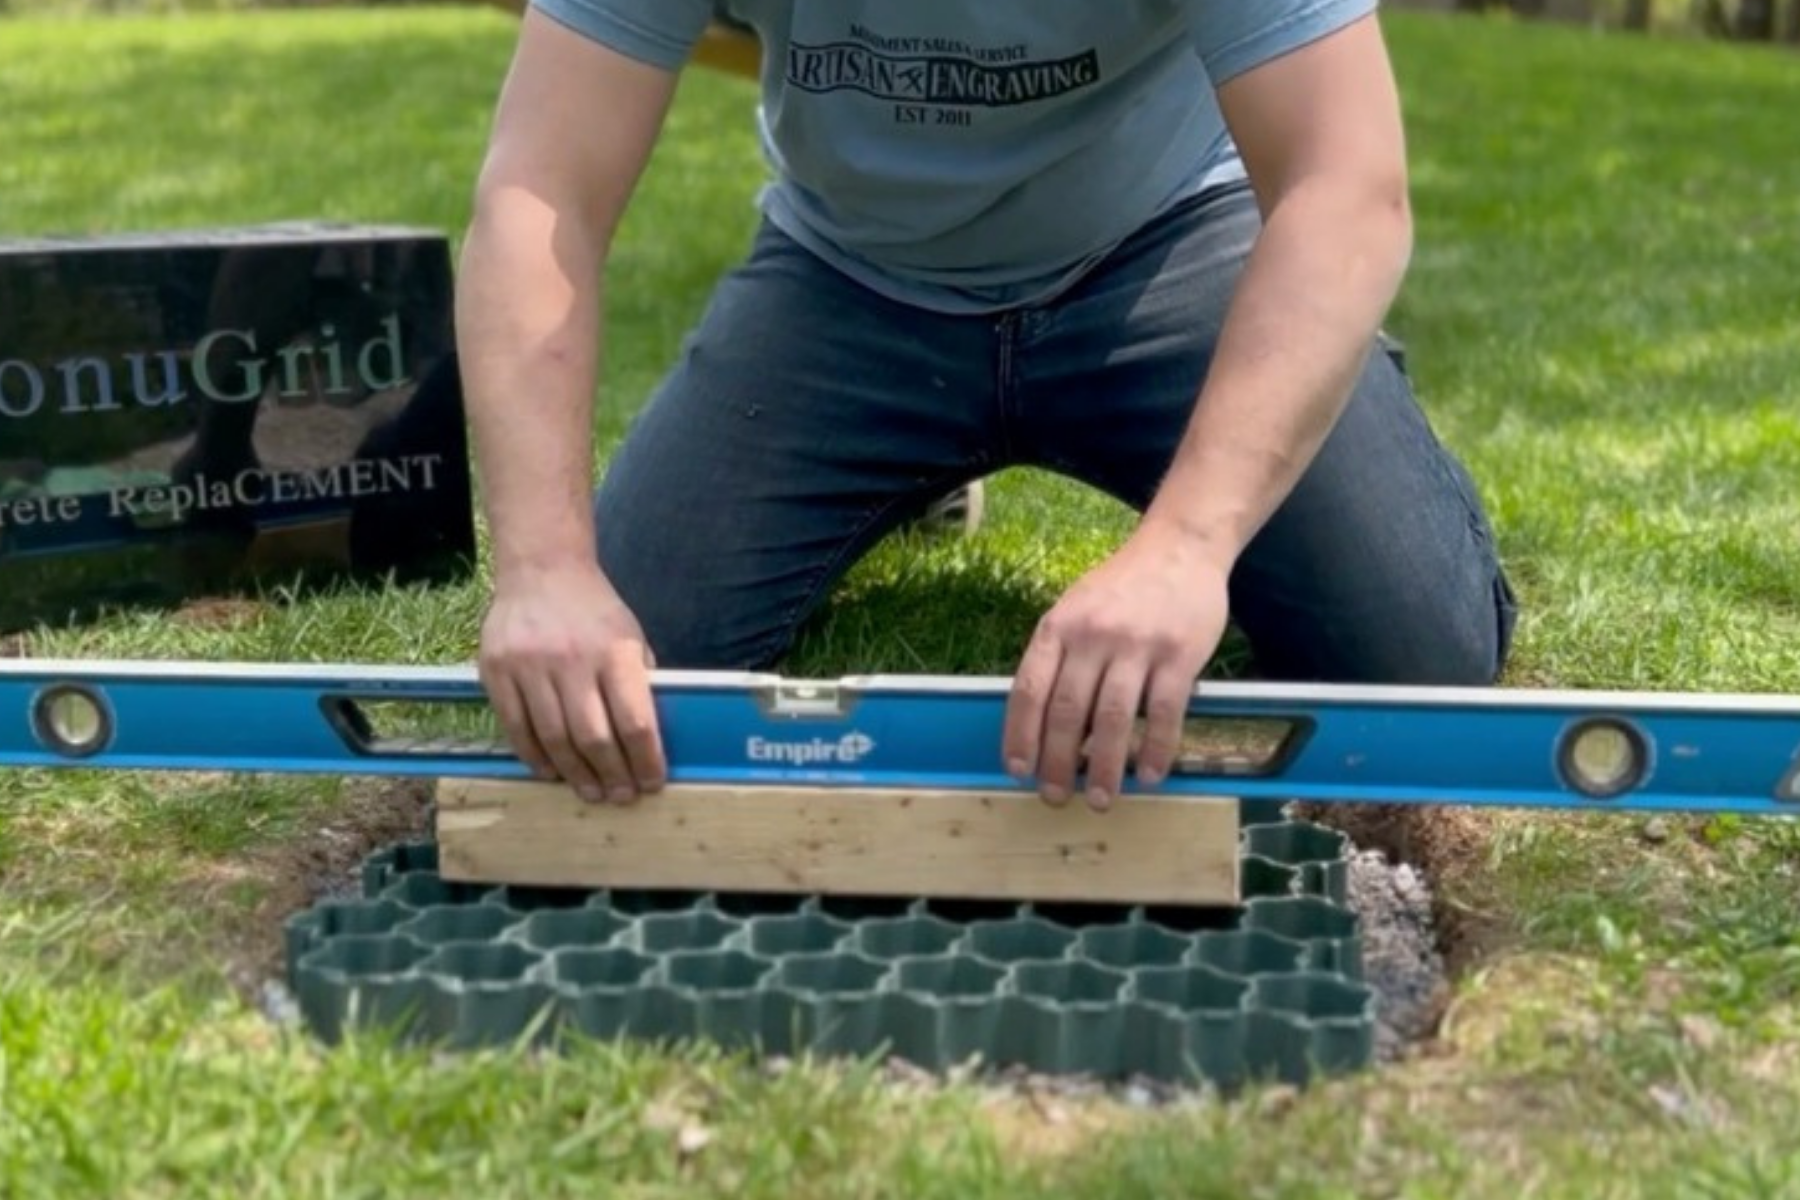
Install and Level the MonuGrid
Place the MonuGrid on the compacted gravel base. Using a level:
- Check left to right and shimmy the grid if one side is high
- Check front to back and repeat as needed until the grid is level
The shimmying motion helps settle the grid into the gravel.
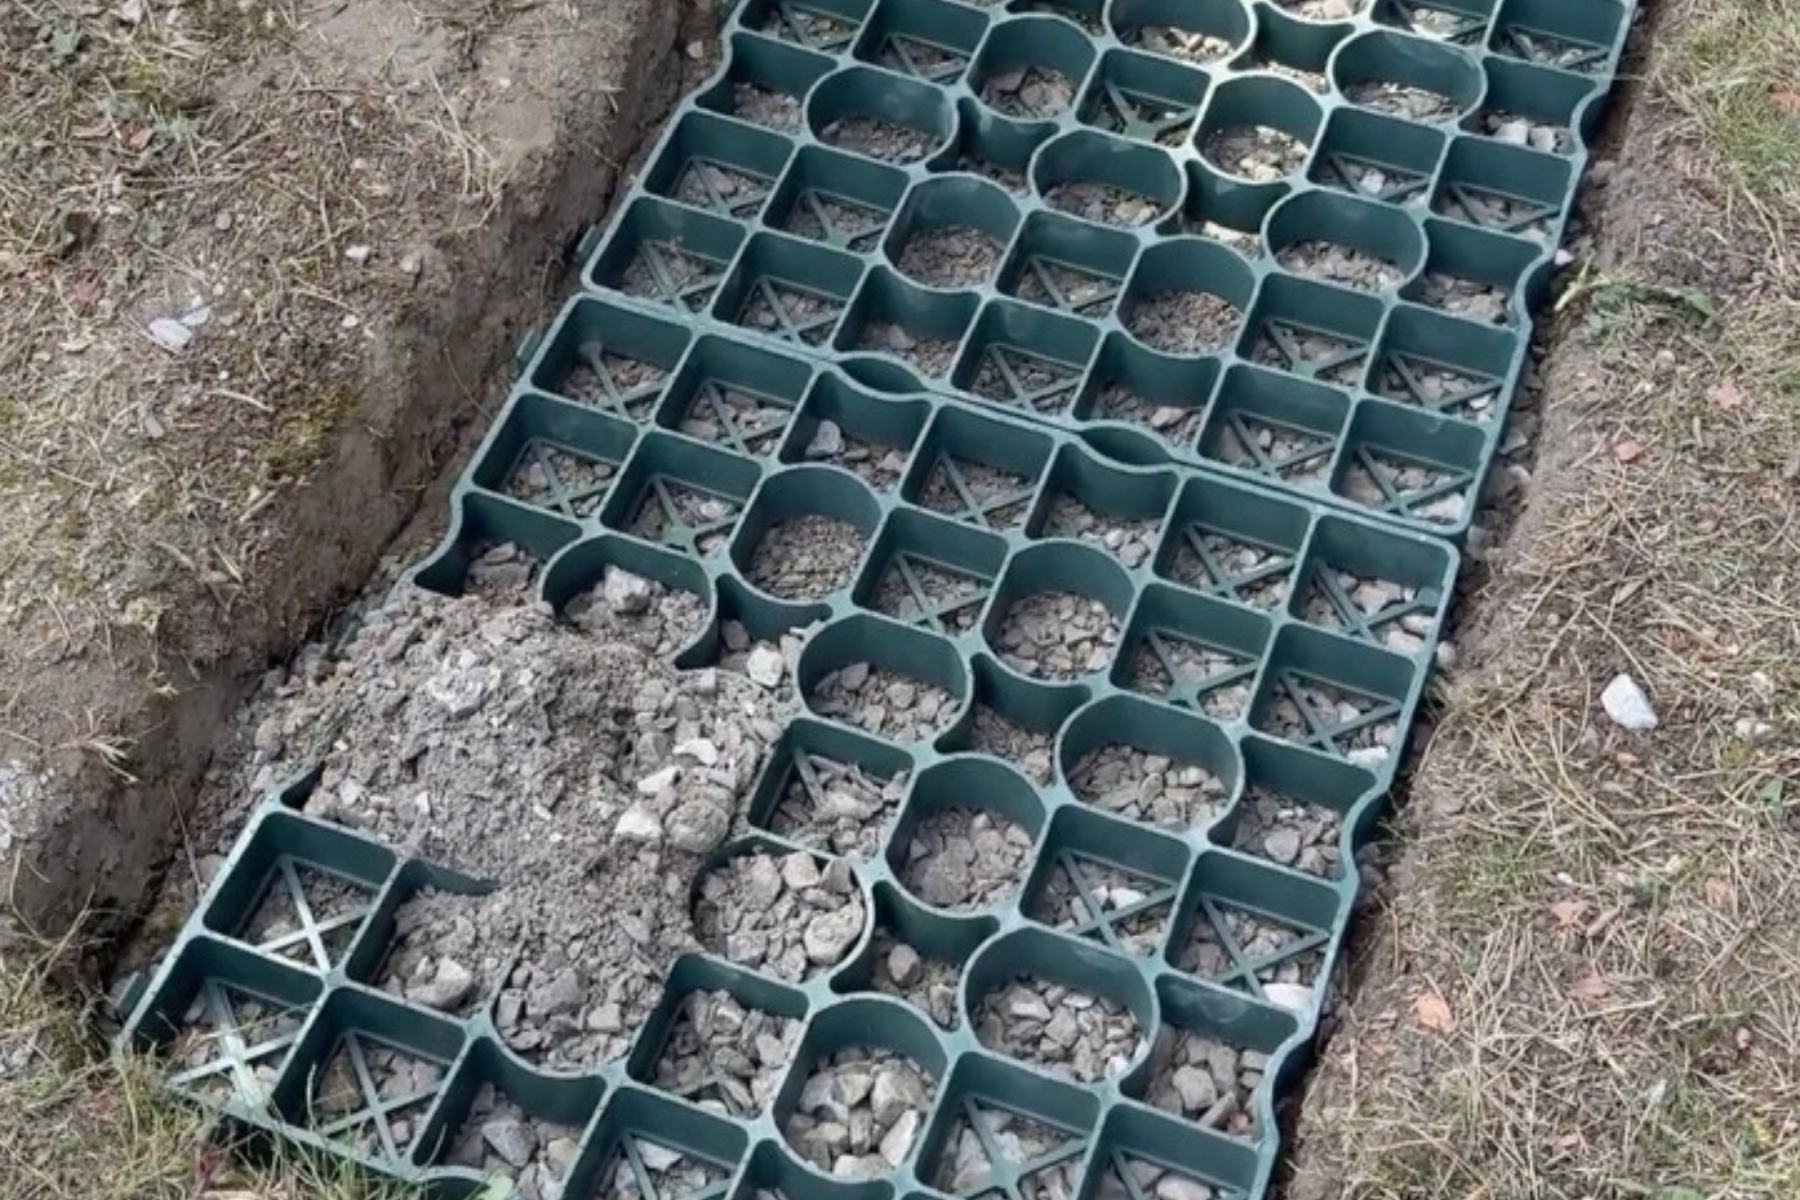
Fill the Grid
Fill the MonuGrid cells with gravel until they are flush with the top of the grid. Spread the material evenly and compact it firmly to ensure a stable, consistent base for the marker.
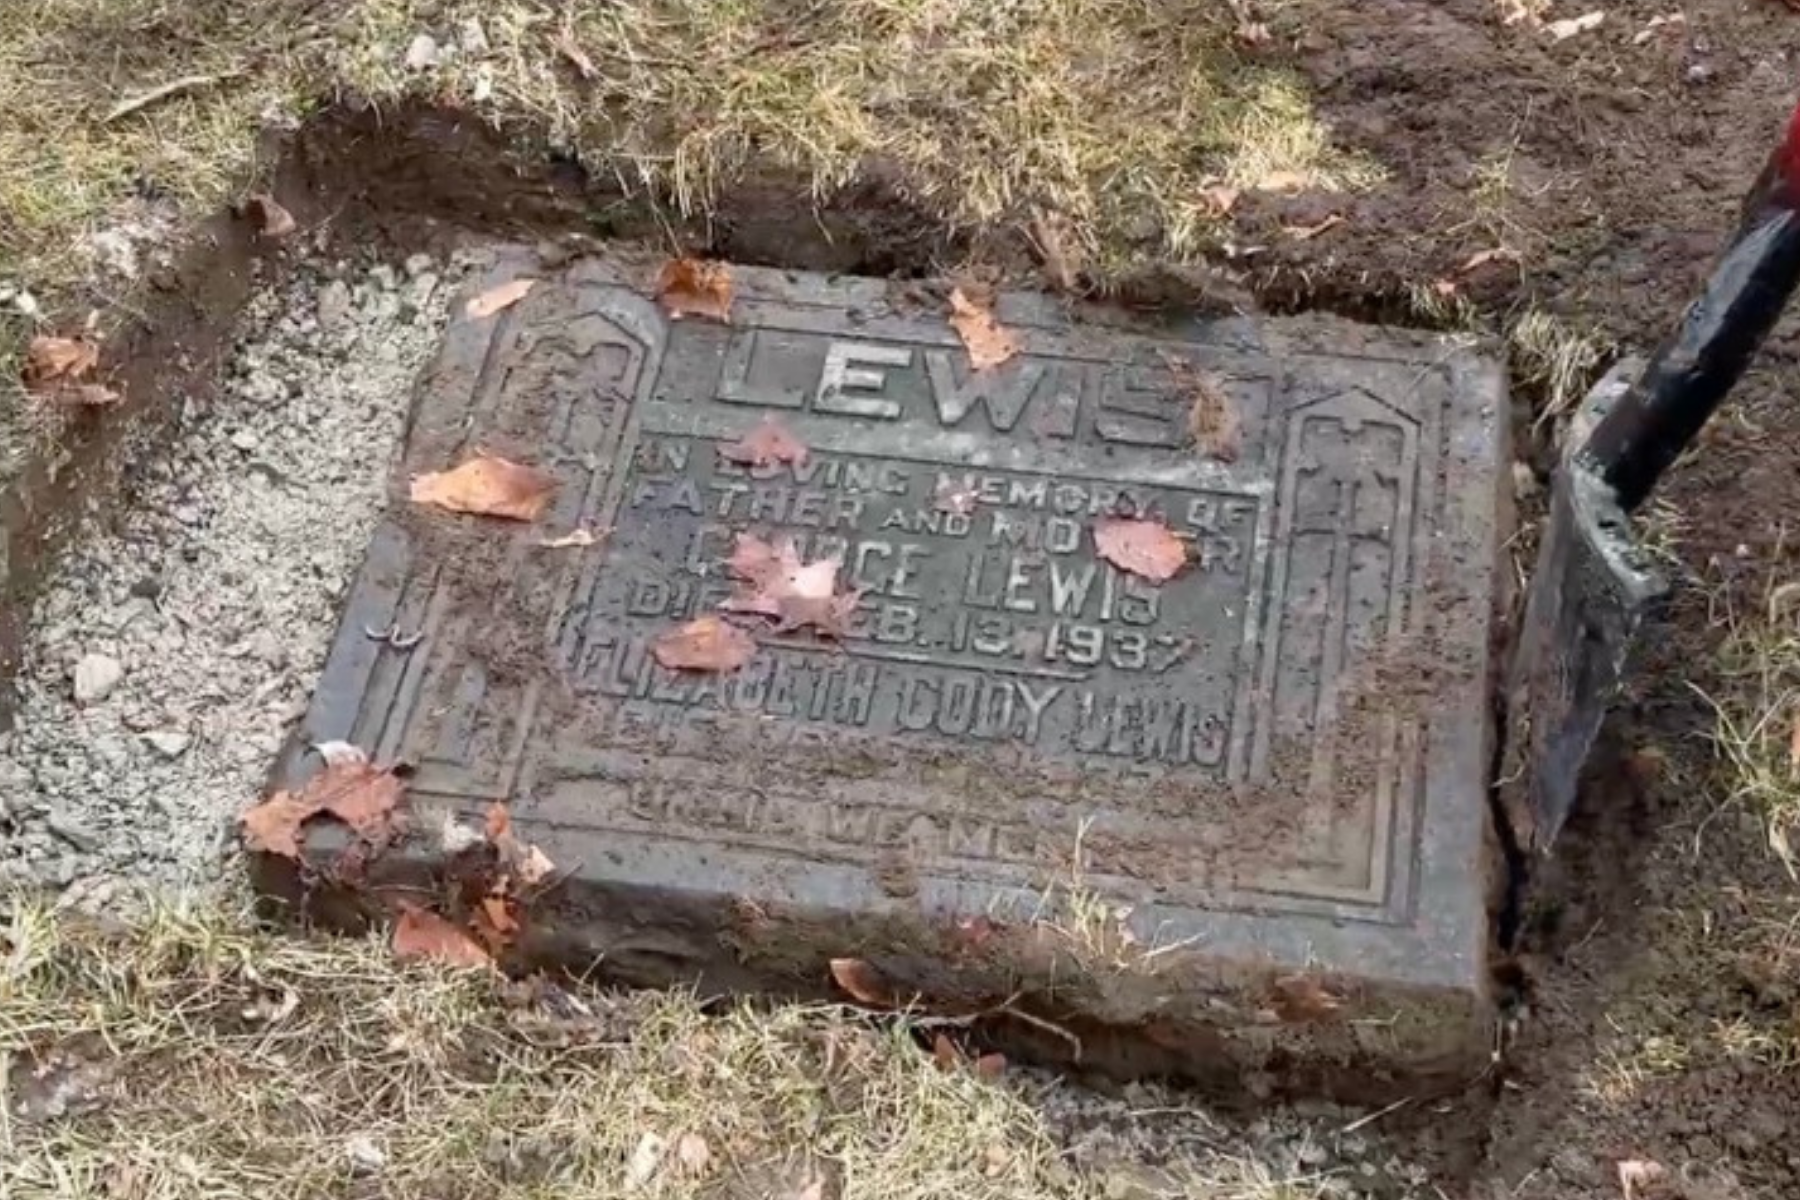
Place the Marker
Set the marker directly on the filled MonuGrid. Ensure it follows the surrounding soil's natural grade to help prevent lawnmower strikes.
If the marker rocks, gently shimmy it back and forth to settle any larger gravel particles beneath it until it sits flat and stable.
Download the Full Installation Guide
TAKE IT WITH YOU
Save the complete PDF to your device and reference it on-site — no signal required.